
Goldman sachs warns investors not to ignore bitcoinwhat
32 comments
Economic policy journal bitcoin mineral
But if you already know that overwriting your GPU BIOS with a custom replacement is outside of your comfort zone, then sticking with Windows will at least allow you to undervolt. The steps outlined below should be more than adequate for the average Windows user, but feel free to leave comments if anything is unclear! You should end up in the BIOS configuration area. Complete the installation and boot into the Windows desktop before proceeding to the next step.
By default, Windows will go to sleep after 30 minutes without user interaction. You can skip this section if you already have an Ethereum wallet address.
Be wary about trusting other methods, as some online creation tools are potentially scams designed to later steal your coins. If you see a warning about starting the Ledger hub here, you can ignore it. Remember your password, and keep multiple backups of your key file s! For a fresh Windows 10 install, that means the C: Copy the entire keystore folder someplace safe to backup your wallet. Now is a good time to perform a quick test. Simply double-click your mine. You should see a shortcut to your mine.
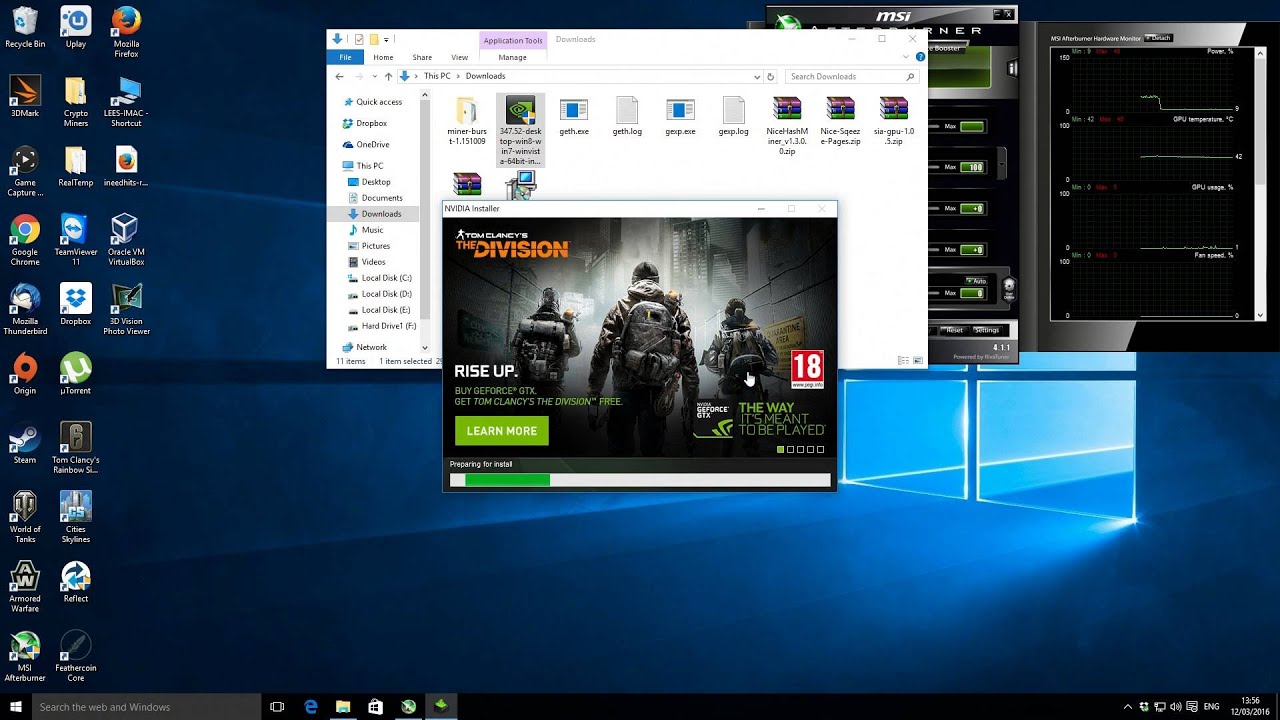
Windows should automatically execute it upon bootup. There are a couple more steps that may be important to you, though. You should see something that looks like the image on the left click for full-size. Proceed at your own risk!
Configuring remote administration will allow you to disconnect the monitor, keyboard, and mouse from your mining rig and manage it from another computer—even over the internet, if you wish. Here are the basic setup instructions for TightVNC:.
The easiest way to do that is to power down your miner. Turn it back on and the following should happen:. Awesome tutorial, very clear and useful ….
I have only one question…. If I join nanoppol with a test rig and then, a couple of weeks later I change my hardware for some more enhanced and proper replacing my entire system…. Will I have any trouble or is this transparent to nanoppol? Also, is geth a better option for creating at wallet than myetherwallet for example???
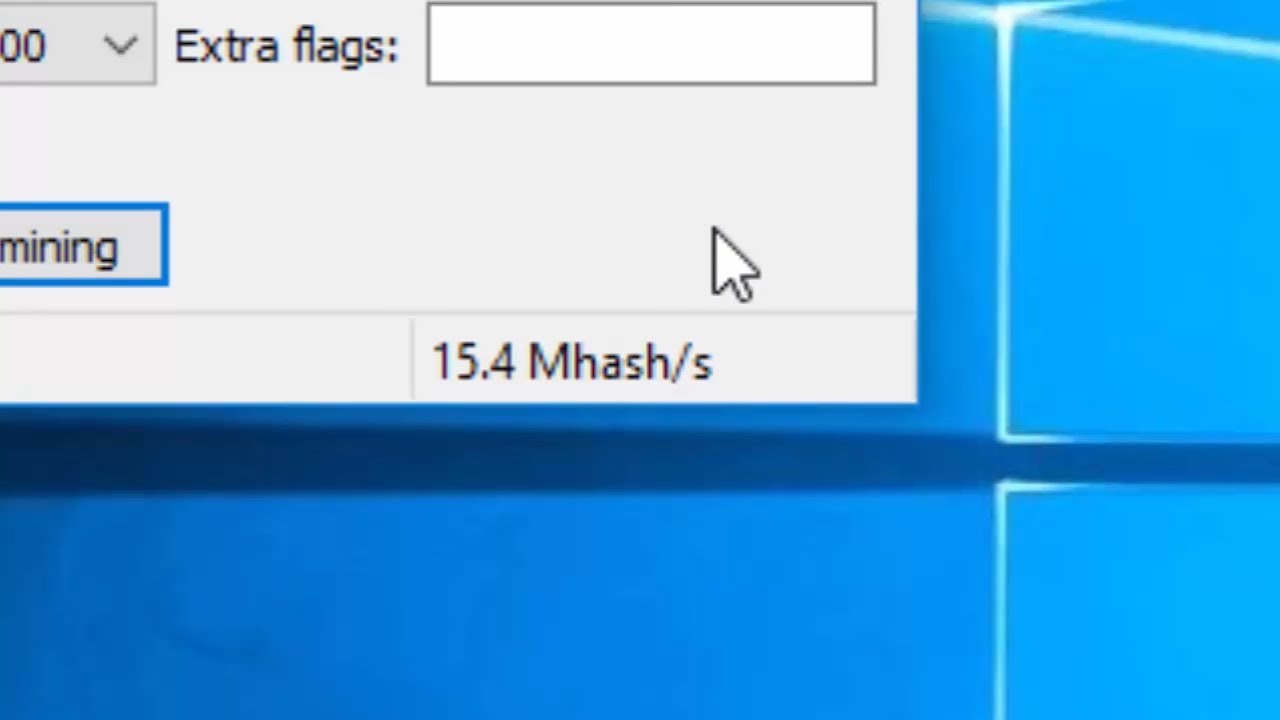
You mine to your wallet address. It doesnt matter which rig you use to do so. I have the newest version of claymore miner installed and am currently trying to get the rig going on just 1 card before I add the others. I am using a RX Claymore miner seems to be running just fine except that it continually shows 0. Honestly its super weird how this issue was resolved. Basically I just rebooted several times and then it started working….
I have windows Are you or anyone else you know having the same problem? I ended up resetting everything back to stock. Some time after one of the GPUs started hanging and it would finish setting the dag.
I identified which card was hanging and removed it from the machine. Also, results are always different between reboots even if no changes are made. If 4 cards are plugged in… sometimes 4 cards are recognized and sometimes only 3 are.
If 3 cards are plugged in, sometimes 3 are recognized and sometimes only 2 are. But what has been consistent is that GPU0 hangs. Also, sata to xyz power adapters are fire hazard. If at all you want to use them, ensure that you power only 1 gpu per SATA cable. RX should do on stock clocks. Are you on reddit? I have a thread going with much more details if you want to check it out.
I installed the blockchain compute drivers. Right now I am keeping a powered off monitor plugged into it, I will have to make a dummy plug. When installing the blockchain driver, only install the video driver and the audio driver. Hope it works for you also.
Hi, I followed your instructions step by step or at least I think so but when executing the. I know it is a bad idea to mine on Laptop. But I am gonna try for few days and check. I need some help it is giving me errors. PCI Express x16 Gen2. Stratum — Connected eth-us-east1. Any video here to complete same procedure.?? That we watch and understand perfectly. Good afternoon from the GNW. However, the last line, C: States this file is not recognized as an internal or external command, operable program of batch file.
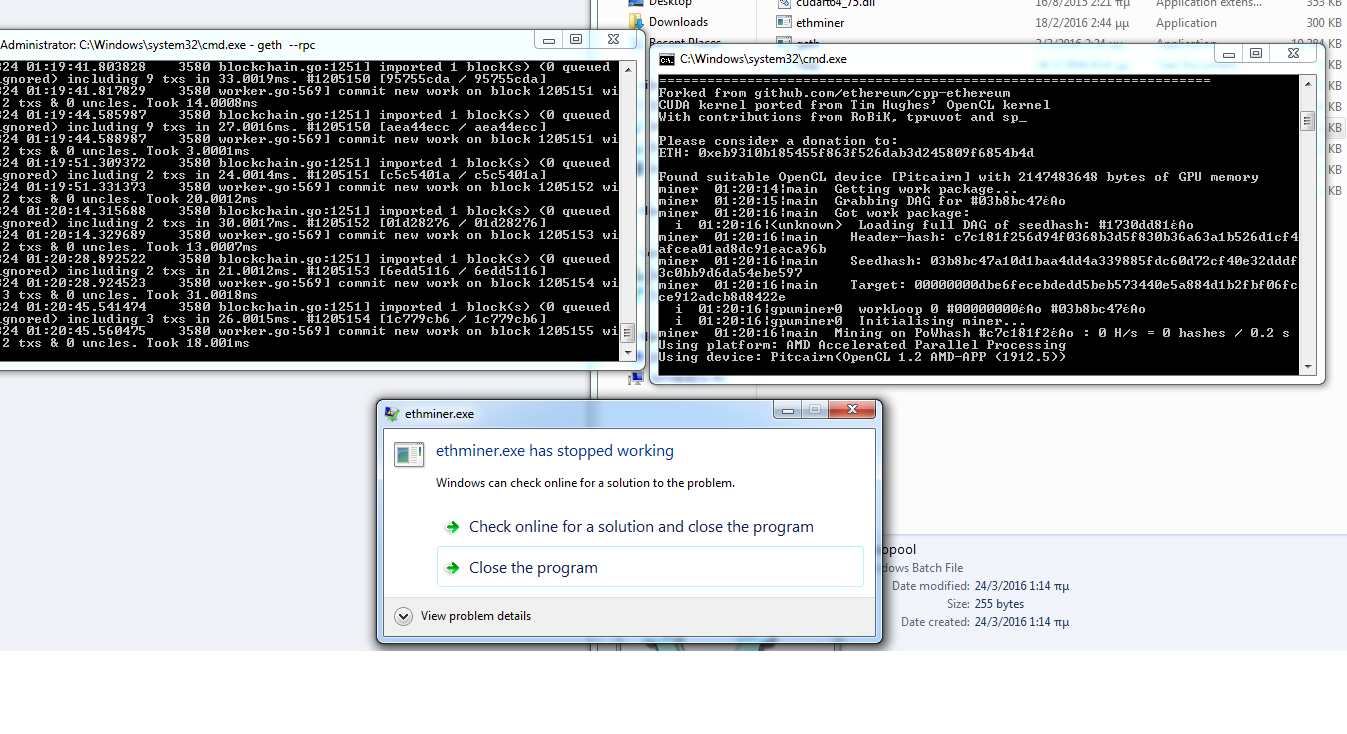
Why is this ethdcrminer Stuck in Mobile with the Memphis Blues again. Please download Claymore again and ensure this folder is marked safe in your antivirus. The antivirus detects this file as virus and deletes it. Thanks Kumar, Checked File name it seemed to be case sensitive. Bat file to match download file name and voila, works with no errors.
I try to reinstall amd driver but no luck. Do you want to know how to run the bat file? If it is, just double click on the icon of the bat file you created and it should run. Below is my rig configuration:. Notify me of follow-up comments by email. Notify me of new posts by email. Build your own Ethereum Mining Rig, part 3: Change power options so that the computer automatically turns itself on whenever power is restored.
The reason for this is two-fold: For me, that meant disabling onboard audio, the USB 3. Exact tweaks vary by motherboard, but setting the PCIe speed to Gen1 is usually a good place to start. Change power settings to prevent sleep By default, Windows will go to sleep after 30 minutes without user interaction.
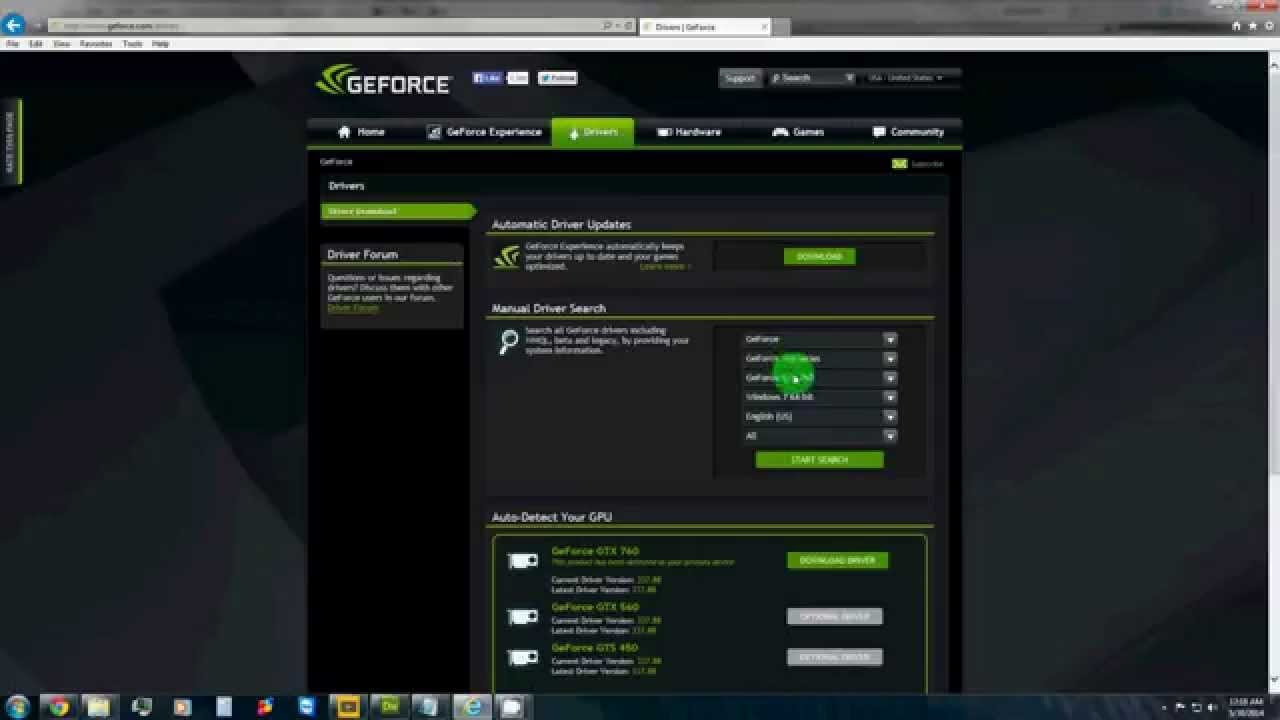
Generate a wallet address You can skip this section if you already have an Ethereum wallet address. Download the latest release of Geth for Windows here. When the download is finished, run the installer and select all of the default options.
Type the following to switch to the Geth installation directory assuming you installed it in the default location: Make sure to get the. Extract the downloaded archive into a folder on your mining computer. Enter the following text into your mine. Right-click on your mine. Open the Radeon Settings app. There should be an icon for it in your system tray. Go ahead and click it. DIY , eth , ethereum , guide , how-to , mining , setup , software , windows.
Windows Setup Ray says: January 2, at 1: January 2, at 8: March 5, at 6: January 8, at 3: January 9, at 3: