


Coinbox bitcoin exchange rate
15 comments
Coinmarketcap ethereum faucet
September 21st, by: At the time we knew very little about 3D printers and their assembly. It therefore took longer than anticipated to build and deploy the printers in the seven public libraries that volunteered to beta test this technology. Assembly was challenging, especially keeping track of all the various sized nuts, bolts, washers, and laser cut wood pieces.
The greater task was in calibration — making sure all the parts worked together smoothly. I contacted Ultimaker Support frequently. While they were very helpful, as of they were a small company located in another continent and time zone. At least once I had to wait nearly two weeks to get a response; their support staff were at a 3D printing conference.
The ones fluent in English were unavailable. In retrospect, I am glad I had the opportunity to build these printers rather than purchasing them completely assembled.
I learned how 3D printers are intended to work, the proper names of the multiple parts, and how to diagnose the results when the printer is not working correctly. I now know which way the pulleys are intended to move, the direct effect of each stepper motor, and how one loose bolt can be the cause of a disastrous print.
These printers are ideal for tinkerers, those with the curiosity to investigate the cause of a failed print and not afraid to find the solution. The UO requires a lot of maintenance, tightening of bolts, and frequent recalibration. Unfortunately, this workflow does not fit in with that of a busy public library staff person. The UOs have created a lot of issues for the library staff all over the state.
A number of the libraries with UOs have needed regular assistance with maintaining their printers. Overall, the UO is an excellent machine to learn about 3D printing. Its open platform permits easy maintenance and the opportunity to upgrade for those who desire a dual extruder.
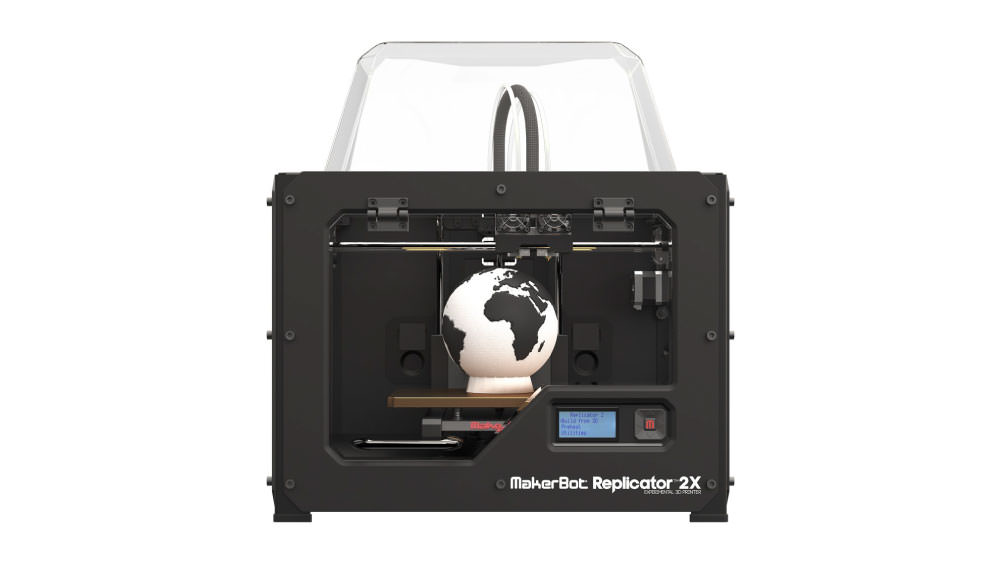
Finding the UOs to be a poor fit for most of the libraries, we tested the MakerBot Replicator 2, which seemed to be the most popular brand and model in 3D printing at the time. We opened the large cardboard box, carefully removed the large metal-framed printer, discarded the packing material, plugged in the cord to the electrical outlet, and voila — we were greeted by the cheerful blipping of our newest device.
The first couple of prints were smooth and beautiful. An SD card meant freedom from having to tether the printer to a computer while in use. Our awe was cut short at the first clogged nozzle, which was followed soon after by the next clog, and the next, and the next. Unclogging the nozzle is a tedious task that involves opening the extruder to clear out the nozzle and clean the drive gear feeder mechanism.
We have had to replace the bar mount assembly twice, and are now replacing the ceramic insulation tape a second time. Diagnosing the issues with MakerBot Support has been a difficult process. Each time I opened a case it seemed they wanted to know when I purchased the printer, the serial number, the invoice number — overall too much information that they should already have on file.
I opened cases to find they closed it before I had a chance to respond. I was not impressed. I reopened cases only to encounter a different support specialist and needed to recount the interactions with the previous support staff. We were curious about the dual extruder capabilities. So we purchased a small selection of ABS filament, enough to populate both extruders. I never quite perfected the dual extrusion capabilities — only two successes out of numerous attempts.
In sum, I do not recommend future 3D printer purchases from MakerBot. By this time the Ultimaker 2 U2 had been released for sale and had been receiving excellent reviews. So we tested a U2. I had a limited testing time this printer initially. It appeared Ultimaker took the UO and upgraded to include the aspect of the MakerBot Replicator 2 that I disliked the most — the feeder mechanism.
Despite my wariness, it seemed to print nicely. I deployed this printer to a library already familiar with the UO and the Cura software. Staff there loved it. I received reports that the feeder mechanism was grinding into the filament rather than pushing the filament forward into the hot end. These two parts are about one foot apart on this model. I proceeded to take the feeder mechanism apart as I would have for the MakerBot. I quickly learned that the U2 was nowhere nearly as friendly to the tinkerer as was its younger brother the UO.
The Cube 3 came to our attention at a time when we were frustrated with both MakerBot and Ultimaker and pressured to find a feasible 3D printer for the public libraries. The Cube is compact, sleek, and extremely modern looking compared to other desktop 3D printers of its class.
It takes up a fraction of the desk space of the MakerBot Replicator 2. The major selling point for the Cube was that it uses PLA filament that comes in a cartridge. Each cartridge has its own nozzle. Should a library staff person encounter a clogged nozzle, all she need do is switch out the filament cartridge and print. No more clearing out clogged nozzles. I have yet to figure out what to do with the remaining filament in the cartridge with the clogged nozzle.
Those cartridges are expensive. That was my number one reason to doubt the efficacy of the Cube. These software packages cost money per license. Our intention was to test it at DDL then deploy to a library using a different computer. With more intense searching we were able to find and download the Cubify app at no cost. My number two reason to doubt this printer. After much frustration we learned that the Cube works best using Wifi.
The USB port on the Cube serves no identifiable purpose. The Cube will not print from a flash drive nor by USB connection to a computer. We tested the PrintrBot Metal Plus at the request of one of the libraries. An enthusiastic community member who volunteers his time and expertise at this library recommended this printer. Happily, the printer came fully assembled. It looks very industrial with its black metal frame and exposed wiring. Also new to me is that the PrintrBot requires use of the advanced print feature within Cura called PronterFace.
Other than having to learn this feature, the prints were smooth and nice the entire testing period. Parts of the printer are clearly printed on a 3D printer. Included with the Mini were all the tools I had to purchase for using the other printers tested previously — spatula, tweezers, Allen wrenches, and more. And some LulzBot swag which is always a nice perk! I separate the LulzBot Taz 5 from the Mini for several reasons. First and foremost, I have much less experience with the Taz.
It is huge for a desktop printer, too big to carry around on the Road Show. It looks just like the mini, only larger. I will comment further as I continue to gain experience with use. DDL, the State Library of Delaware, administers state and federal programs to support libraries throughout Delaware, manages Delaware Library Access Services library services for the blind and physically handicapped , administers the Delaware Library Catalog, purchases databases and electronic resources, supports integration of new library technologies, and facilitates the Delaware Center for the Book.
Skip to Posts Skip to Archives. Division of Libraries' Blog. Archives