NXT Robot Design
5 stars based on
33 reviews
The photo and videos depict a comparison between a line following algorithm in a RoboticsLab simulation and a nxt robot designs tribot download LEGO Mindstorms NXT Tribot following a line using computer vision and the same algorithm. The objective was to develop and test a method of easily porting a control algorithm from a working simulation code for use on a real robot. Presented here is an method to allow for, after some initial preparation, the copying and pasting of code between he simulation and real work environments.
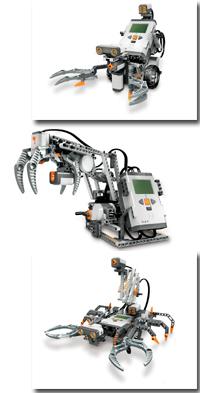
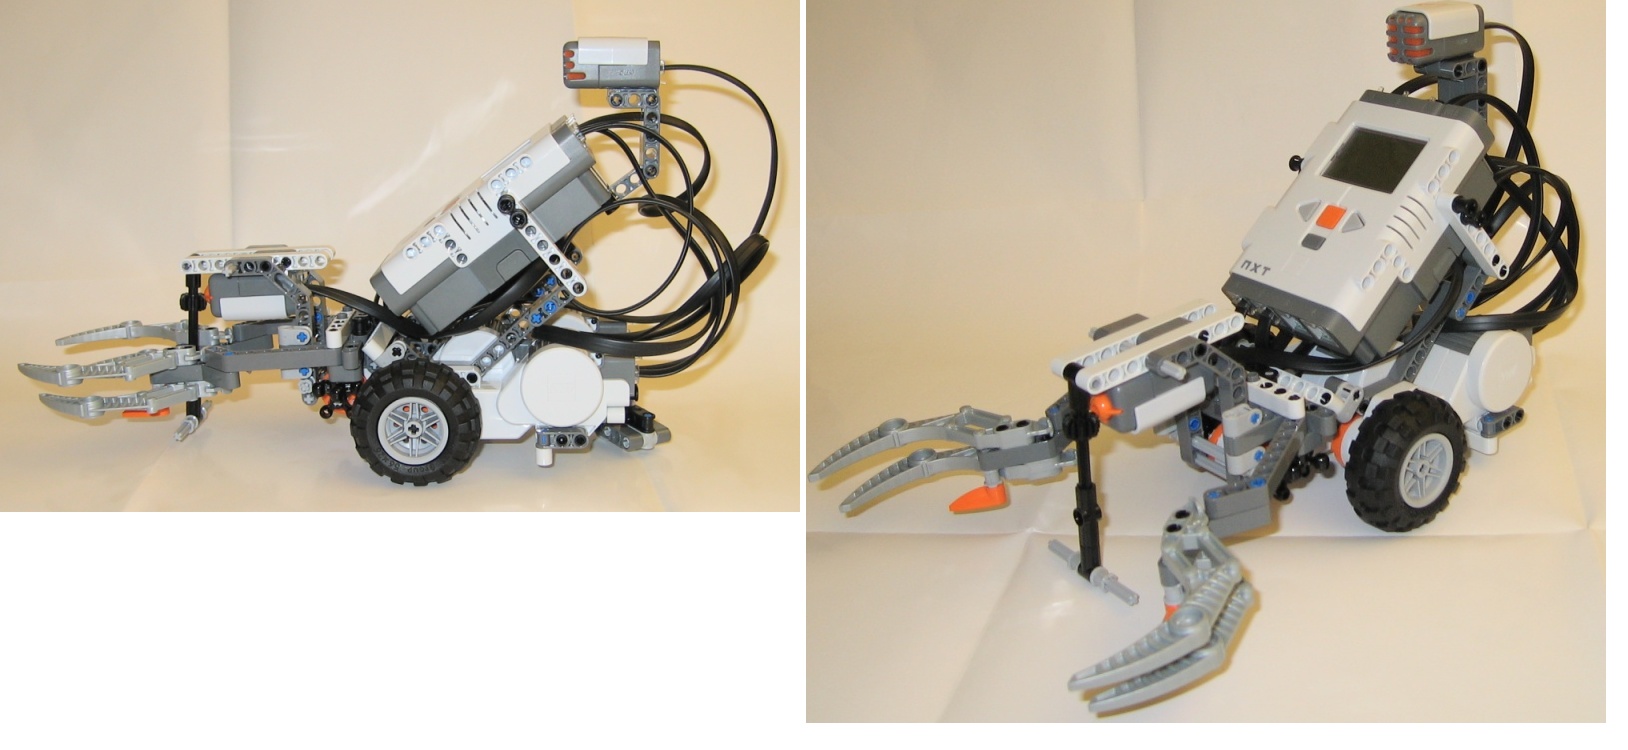
This section gives explanation of the preparation of a new control loop written to run the working line following algorithm on the LEGO NXT platform. Building instructions are provided by the Carnegie Mellon Robotics Academy. Ubuntu's built in text editor and compiler, gedit and GCC, respectively, were used because of the ease involved in linking the libraries when compiling. In the Synaptic Package Manager search for "opencv" and check the following packages for installation: Nxt robot designs tribot download you click Applythe package manager will automatically download and build the packages.
Alternatively, you can download OpenCV and build it yourself using Cmake. Next, search for "libusb" in the package manager. If not, check them for installation along with libusb Again, click Apply to install these packages. Using Terminalnavigate to the NXTpp folder and build the binaries using the following commands:.
To verify the success of the installations, I have provided "Hello World" codes to test each of the libraries. Download this folder, projects. Navigate to the LineFollowing folder within using the following command:. Open the file nxt robot designs tribot download hellocam. The first line in the main function is for setting which camera to use in the program. A "0" indicated the primary nxt robot designs tribot download.
If a built-in webcam is present, this will be considered the primary camera and a USB camera will be considered "1". If there is only one camera present, it nxt robot designs tribot download "0". Set this parameter accordingly. In Terminal, from within LineFollowing folder, compile hellocam. A window should pop up with showing the camera stream. If so, OpenCV works! The nxt robot designs tribot download should read out data about your USB ports.
If so, libUSB has been correctly installed. It is usually necessary to use sudo super user when commanding hardware. The terminal should go blank. If you hold the touch sensor down, a readout should be seen in the terminal along with an activation of Motor A.
The counterparts of these functions i the simulation code can be found in the following robot control code. OpenCV is nxt robot designs tribot download to gather and manipulate the camera data. All but the output of this data is different from nxt robot designs tribot download methods in the simulation. Also, the motor command code is NXT specific code. It was simply a matter of copy and paste once the surrounding code was well established. Compare the following code with the simulation control algorithm in Tutorial 3.
Refer to the comments for code explanation. This working example code presents only one method of many for preparing a control loop to house an unchanged line tracking algorithm prototype.
The touch sensor will kill the program and motors and is the preferred method for breaking out of the program. Download library nxt robot designs tribot download code and line following example code [ projects. The work involved was in the camera data preparation.
The webcam pixel data had to be fed to the line following algorithm in the same way that the simulated camera had done. Once the data was massaged, the algorithm was able to be used unchanged, save adjustments to allow input resolution flexibility. The simulation software is useful for developing and testing control algorithms but without additional real-time hardware control plugins, a separate program must be written to control the real robot.
At this point, control algorithms can be tested in RoboticsLab then copied and pasted directly into the robot code. Add a touch sensor to Port 1. Download and install necessary libraries [EXPAND Click to Expand] Ubuntu's built in text editor and compiler, gedit and GCC, respectively, were used because of the ease involved in linking the libraries when compiling.
Using Terminalnavigate to the NXTpp folder and build the binaries using the following commands: Navigate to the LineFollowing folder within using the following command: Plug in your USB webcam and turn it on.